

Lens flare photography is a way of using light to create a flare effect in photos for interest or that lazy summer afternoon feeling, depending on the type of lens flare you capture. Lens flare occurs when bright light enters the camera lens and reflects off the internal elements of the lens.
The lens flare technique you use varies for the different types of lens flares, but they all rely on camera settings and the position of your camera lens in relation to a strong source of light.
A lens flare caused by sunlight is often referred to as sun flare, but how to create lens flare is the same regardless of the bright light source. The lens flare light source can be:
- Visible or partially visible in shot
- Natural light or artificial light
Now let’s get into the details of how to create each type of lens flare – it’s a creative photography technique I particularly enjoy for portrait photography. I’ve included lens flare example photos created with sunlight and flash.
I’ve included my camera settings, so that you can see the different effects and how it’s not an exact science. For the motorbike shots it was sunrise, the light was changing very fast and we were trying to capture movement, as well as still shots with very little time.

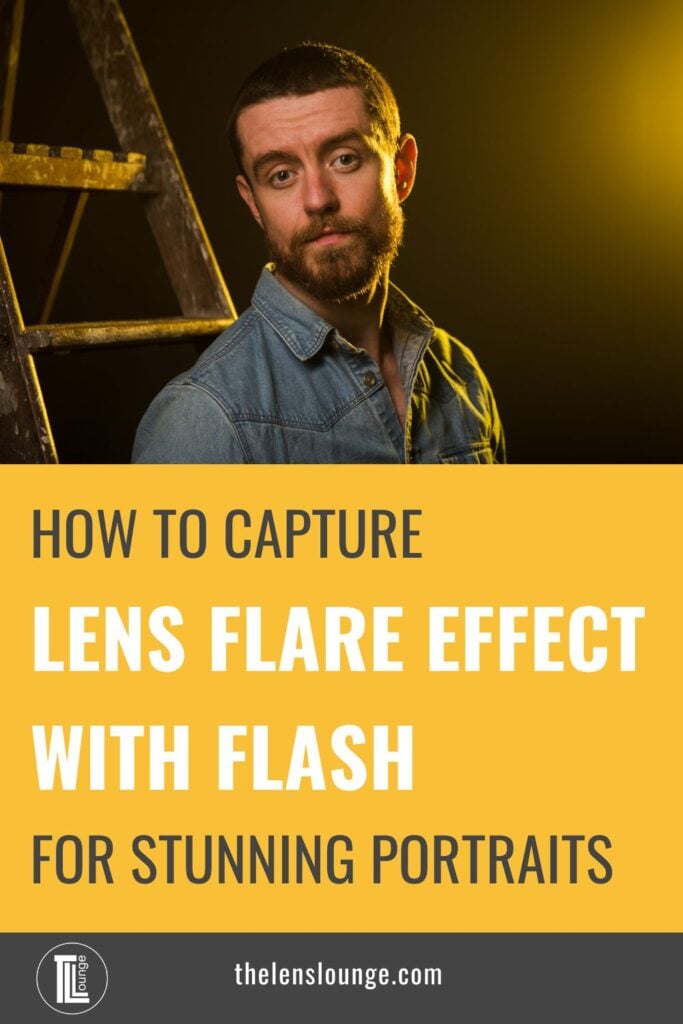
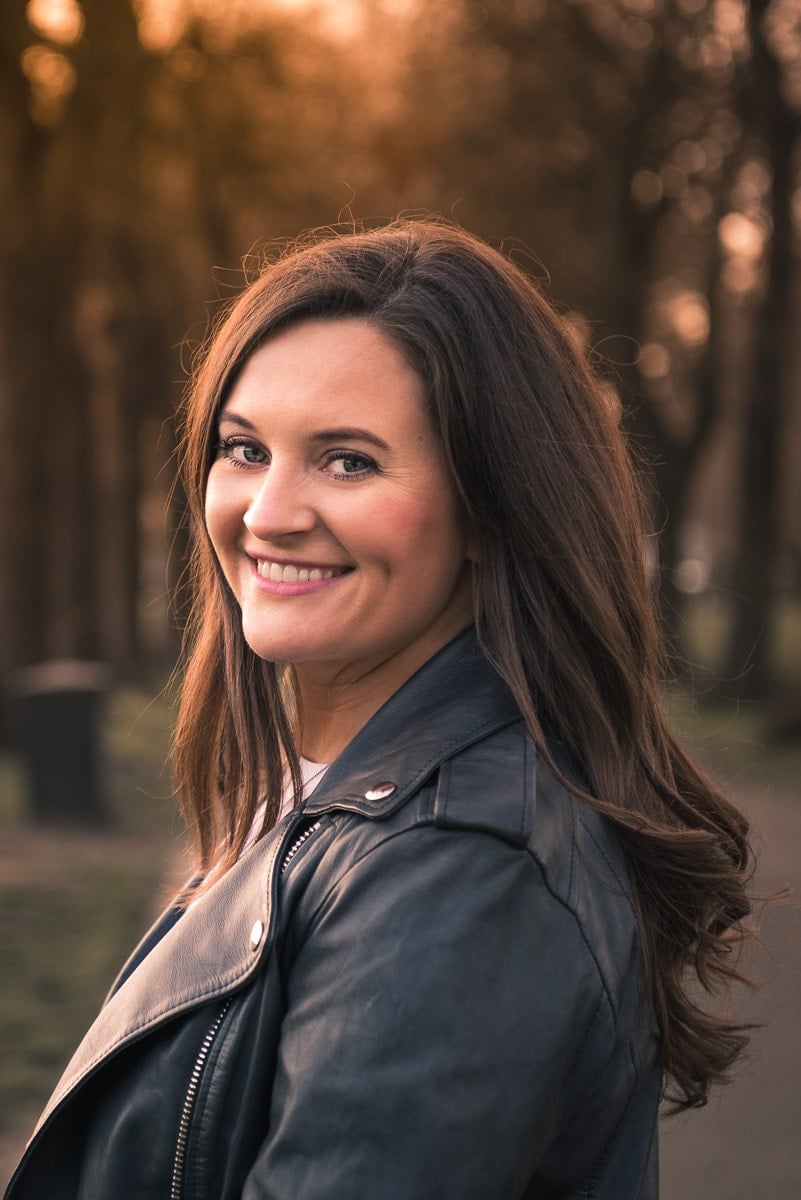
I captured this as the sun rose over the mountain behind the subject. Allowing sunlight to enter the lens at the top left of the frame created the warm golden haze in the background. (PS it looks a lot warmer than it felt at the time!)
Lens flare camera settings and techniques
There’s more to capturing lens flare than just letting light into the shot. It’s a balance of camera technique and camera settings, followed by lots of practice. Pay attention to:
- Aperture
- Position
- Camera angle
- Overall exposure
1. Aperture settings for lens flare photography
Your aperture setting has a huge influence when capturing sun flare – a wide aperture vs a narrow aperture affects the appearance of lens flare in photos
You’ll need to experiment with different aperture settings to see which one works best for the scene, the light and the effect you want to create.
More detail in a moment.
Lens flare can be created with natural light or artificial light. It’s the light source position that counts, not the type of light used. I created the lens flare for this colored light studio portrait by including the gelled strobe in shot.
2. Light source position for lens flare
The position of the sun or artificial light is critical for capturing lens flare. Positioning the light source behind the subject creates a more dramatic effect.
Photographing during the golden hour with natural light is an ideal time of day for sun flare photography, so consider time of day when planning photoshoots.
3. Use different camera angles
Even slight changes in camera position impact the appearance of the lens flare, so photograph from different angles for unique sun flare photos.
Photograph from a:
- Low angle to create a dramatic effect
- Higher angle to capture a wider view

This is an extreme example of how not to capture sun flare! I had to darken this image a lot in post, but the sun is still really distracting.
4. Balance flare with overall exposure
Capturing a flare that’s too bright and overexposed can be distracting and take away from the rest of the image (as you’ll see from my examples further down). On the other hand, if the flare is too dim and underexposed, it may not be noticeable or impactful.
For a perfect straight out of camera sun flare photo, balance the flare with the overall exposure of the image:
- Adjust the exposure and white balance camera settings
- Use flash to light the subject for a well exposed photo with good tonal contrast
- Use a reflector to bounce light back into the subject so they’re not underexposed with an overexposed sky or background
The right balance between the flare and the rest of the image comes down to personal preference for a desired effect.
Types of lens flare
Each type of lens flare has a unique look, depending on camera settings used and position of the light source. The different types of lens flare in portrait photography, include:
- Starburst lens flare
- Veiling lens flare
- Ghosting lens flare
1. How to capture starburst lens flare
A starburst lens flare looks like a pointed star of light in the background of an image.
To capture a starburst effect light flare the light source must be in frame. In portrait photography this means backlighting the subject with the light source visible in shot.
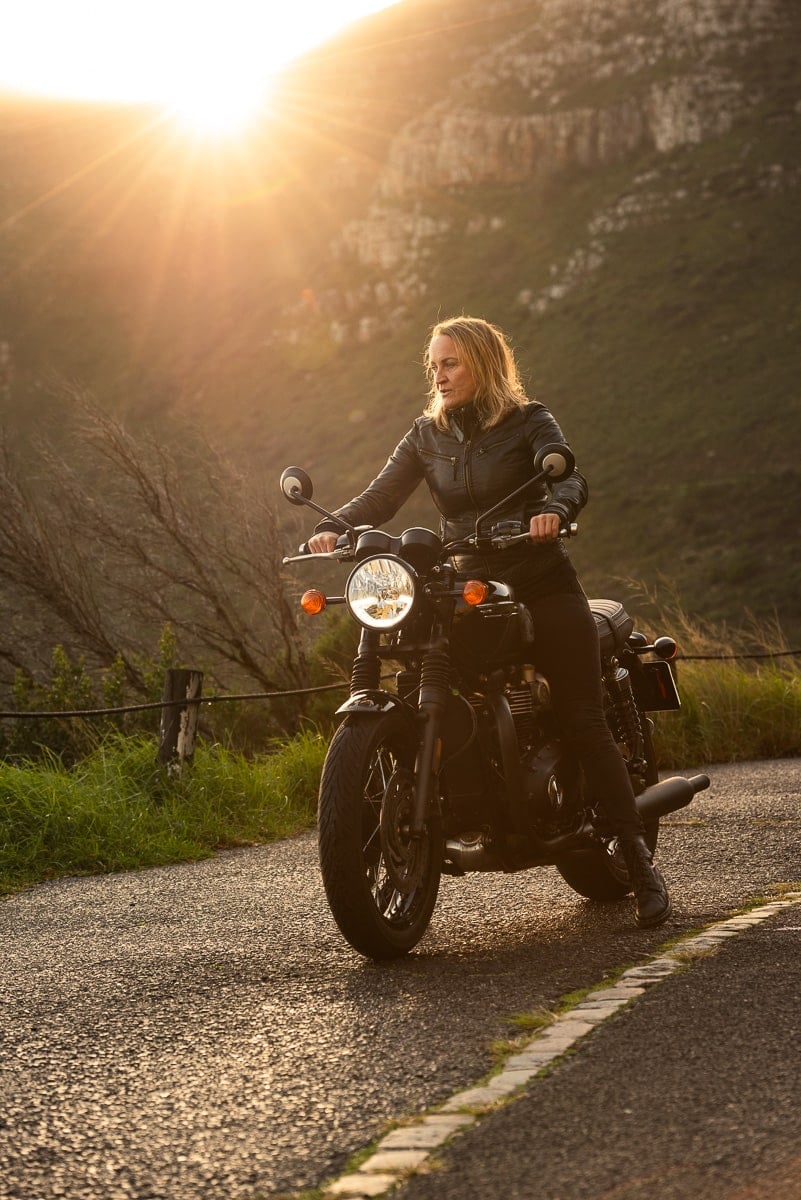
My camera settings to capture starburst lens flare of the sun’s rays were: 1/500, F5.6, ISO 640, 102mm. For the image below (taken 4 seconds earlier) the only difference was my aperture setting – I used an aperture of F4.

How to control the appearance of starburst lens flare with lens aperture settings:
- A wide aperture (lower f-stop) allows more light to enter the lens, creating a brighter and more pronounced flare effect that is less defined.
- A narrow aperture (higher f-stop), particularly F8 and smaller, allows in less light and creates a more defined sunburst lens flare.
It works the same way as controlling depth of field for a blurry background – a wider aperture creates a blurrier background than a small aperture.
I’d recommend using manual mode or aperture priority mode. Just make sure to keep an eye on your shutter speed when photographing in low light to avoid camera shake.
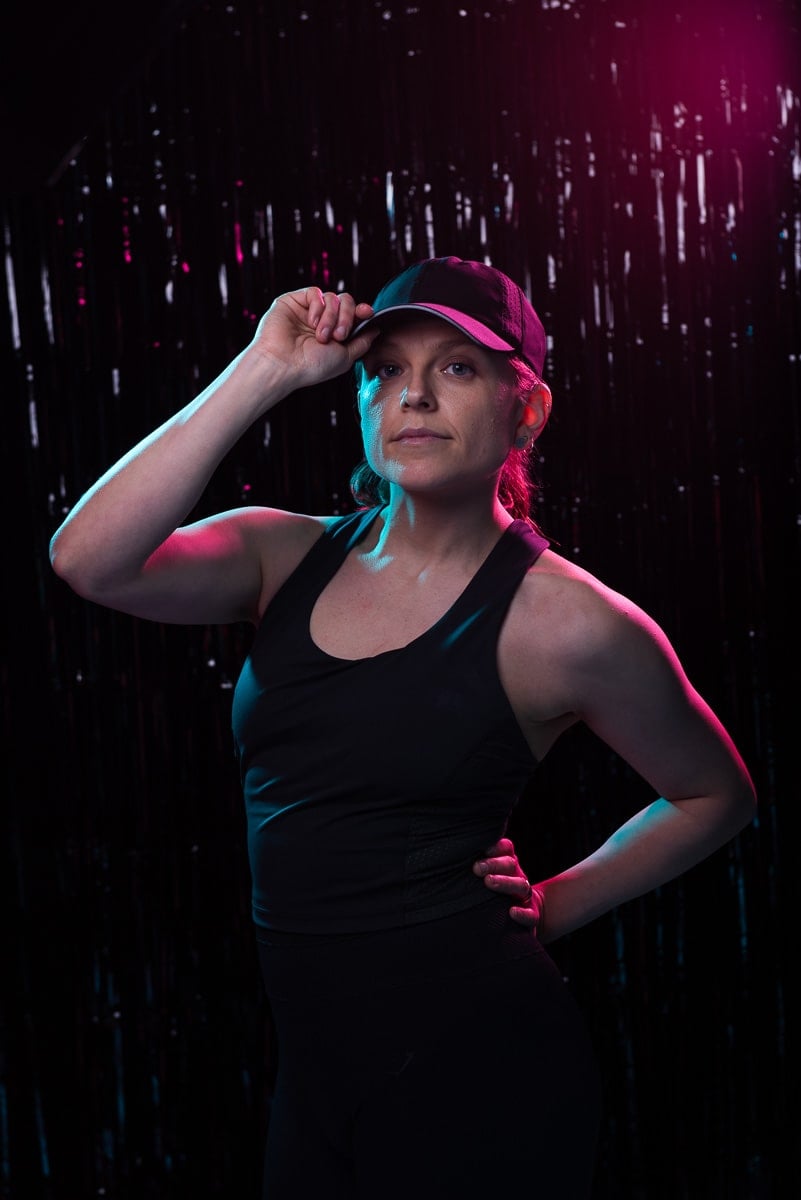
I captured this veiling lens flare in the studio using a magenta gel on a studio strobe to camera right, behind the model. Camera settings: 1/250, F5.6, ISO 100, 70mm lens focal length
2. How to capture veiling lens flare
Veiling lens flare is a hazy or washed out effect that can add an artistic touch to your photos.
To capture veiling lens flare place the light source to the side of the lens with light skimming across the front of the lens at an angle. Light scattering causes diffusion for soft light with less contrast.
Create soft flares by using a lens hood or blocking part of the sun with an object, such as a tree or building.
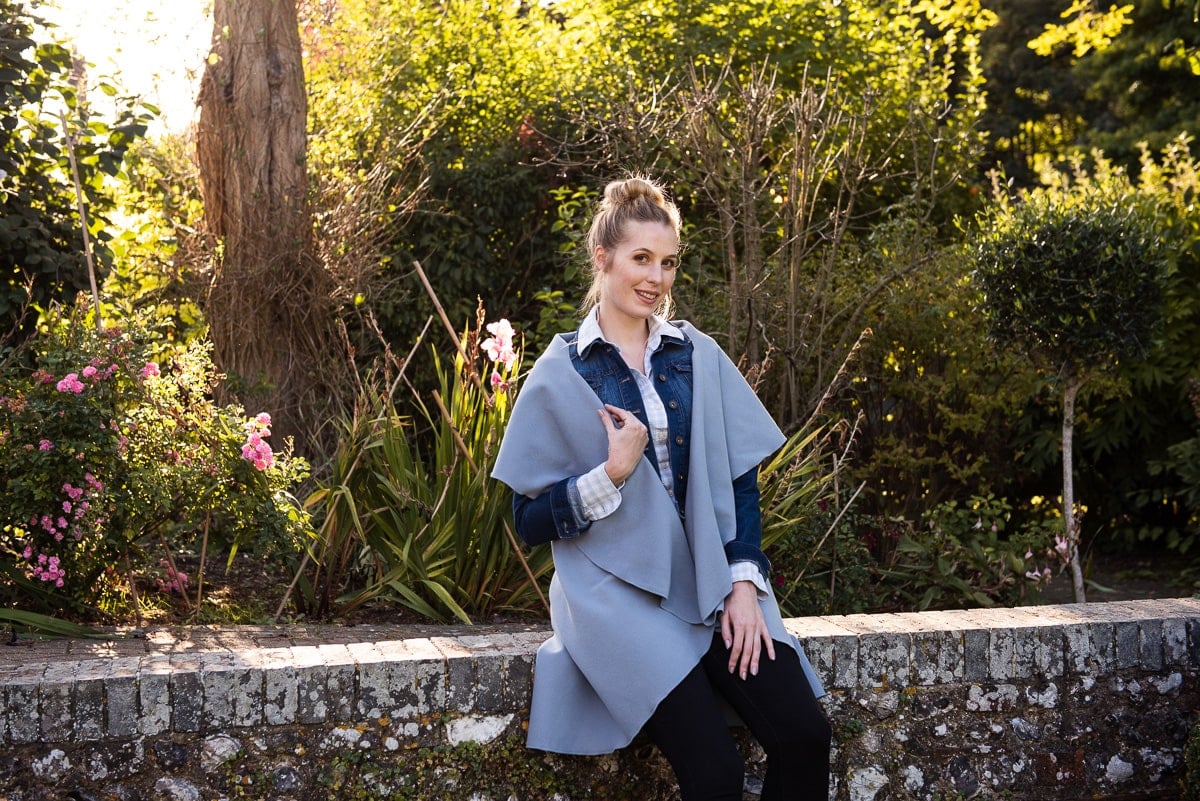
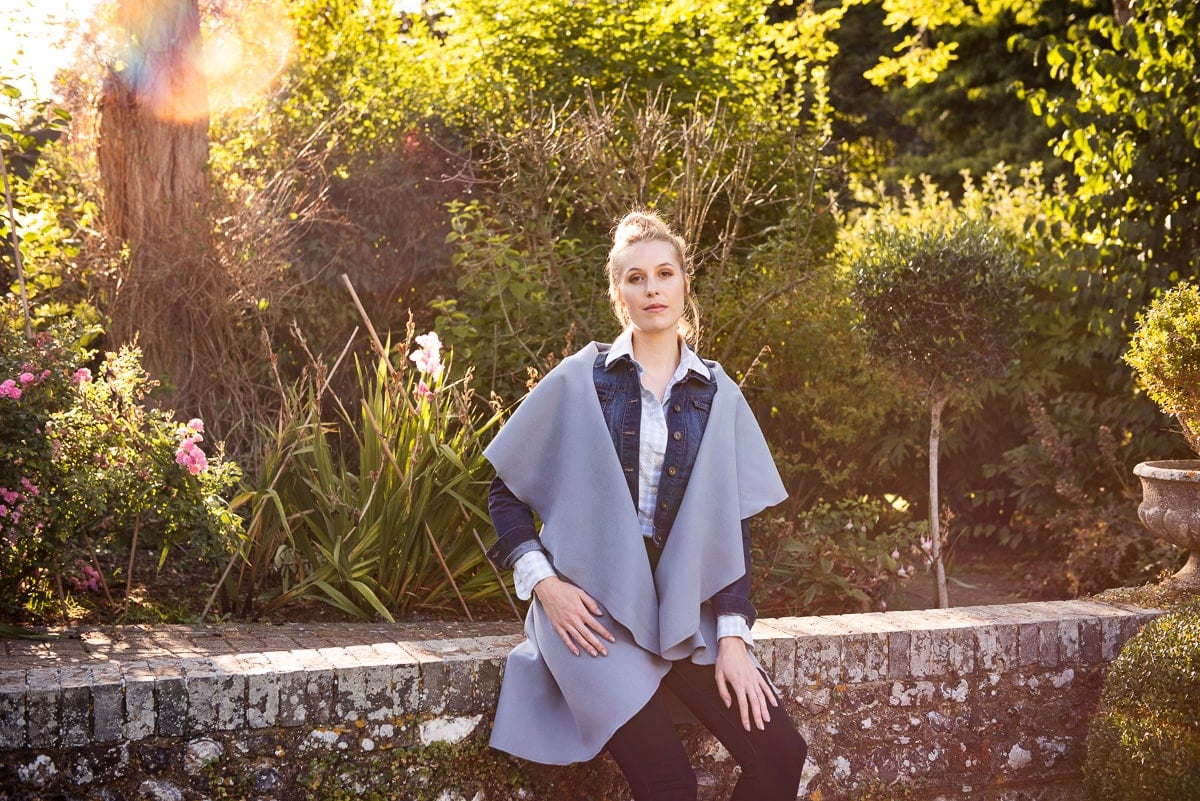
These straight out of camera shots show just how much of a difference your position and shading the front of your lens makes. Camera settings for all 3 shots were 1/200, F4, ISO 200, 50mm focal length. I also used off camera flash to light the model from the front to camera right.

I got it all wrong with the above shot – there’s way too much lens flare. Below, there’s no lens flare and the only difference was I changed my position very slightly so that the front of the lens was entirely shaded by the tree.
The below image is better.
A wider aperture, like f/2.8 or lower, creates a softer, more diffused effect.
Lens quality can also affect the appearance of the flare. High quality lenses (which I use) with anti-reflective coatings reduce the amount of internal reflection, resulting in a clearer and more defined flare.

An example of ghosting lens flare caused by the sun entering the lens to the top left of frame. Camera settings: 1/400, F7.1, ISO 200, 85mm (Lens used: 70-200mm F2.8)
3. How to capture ghosting lens flare
Ghosting sun flare in digital photography is caused by light hitting the camera’s sensor.
Ghosting appears as different color spots of light in images, usually red or green. This is caused by light bouncing off the internal optics of the lens.
The more optics the light bounces off, the more the ghosting lens flare effect is repeated. Zoom lenses have more optics than prime lenses, so ghosting flare is more obvious with zoom lenses.

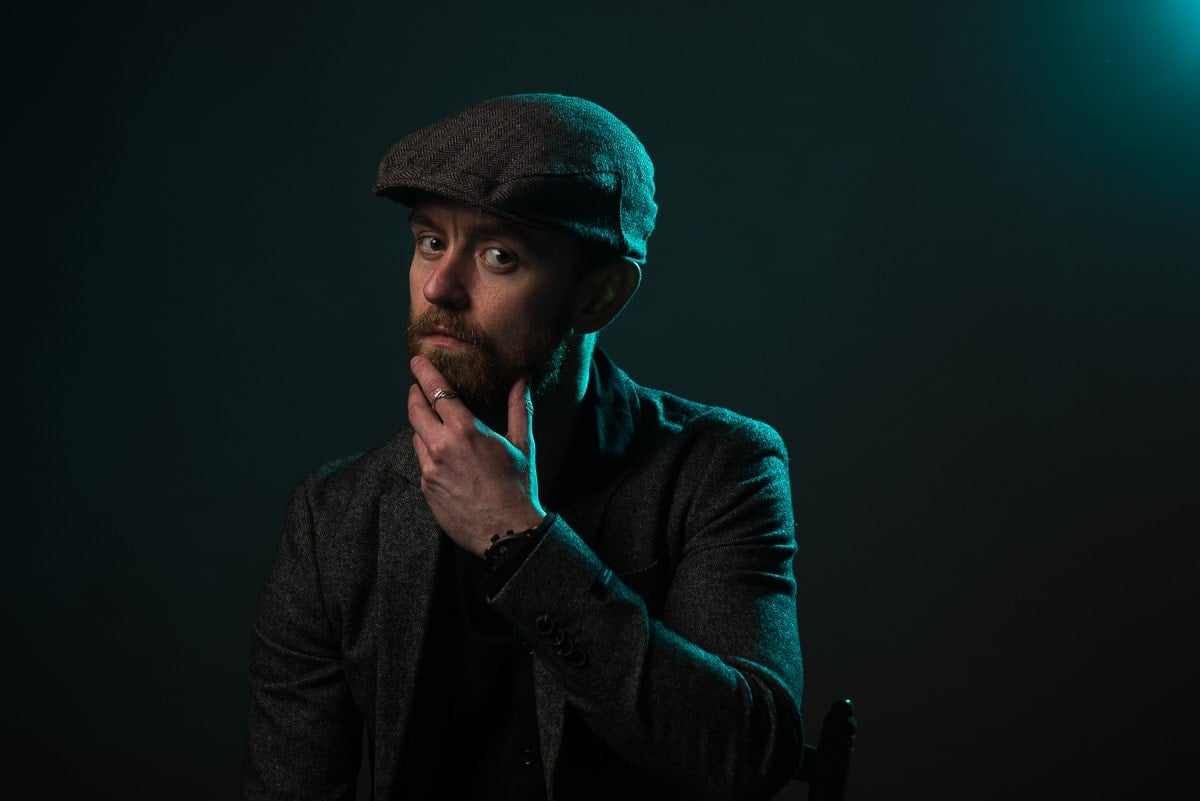
I wanted a slight golden haze in the photo to create an atmosphere of being in an old smokey jazz club. So, for this example of veiling lens flare, I included just small amount of the strobe light in shot to camera right. I positioned the light behind the subject to camera right for a rim lighting setup. Camera settings: 1/200, F 4.0, ISO 200, 58mm.
Natural vs artificial light sources
As I mentioned, lens flare photography isn’t limited to natural light sources. You can also create a flare effect using artificial light sources, such as strobe lighting, speedlights, streetlights or car headlights. In fact, any type of bright light.
So lens flare can be captured outdoors with natural light or off camera flash or in a photo studio with strobe lighting.
Just like with natural light sun flares, lens flares created with flash involve positioning the camera so that the strong light source is either entirely or partially visible in the frame.
However, the appearance of artificial light lens flare may differ from sun flares, particularly the color of the light. So I’d recommend using gels to adjust light color, which I think is the best part of lens flare photography with flash.
To create an artificial sun flare with flash, particularly when photographing outdoors, use a CTO gel for a warm light.
Photography equipment for lens flare
Aside from the actually light source, photography equipment helps to control lens flare including:
- Lens choice
- Lens hood
- Lens filters

This behind the scenes image is from the same shoot as the shot above and the lighting setup is exactly the same. I used two gridded stripboxes to camera left and right and behind the model. I also used a lens hood to control some of the light spill onto the front of my lens.
1. How camera lens affects sun flare
Creating any type of lens flare comes down to your lens:
- How you use your lens
- How your lens is constructed
Different lenses produce different results, as the number and arrangement of lens elements can affect the shape and size of the flare.
What’s more, your lens coating affects how much lens flare you can capture. Lens coating helps to prevents lens flare, so more expensive lenses with better lens coating actually work against you when capturing lens flare.
2. Using a lens hood to control lens flare
The purpose of a lens hood is to help reduce lens flare and unwanted reflections by preventing unwanted light from entering the lens. So intentionally capturing lens flare in photography is the one time that removing the lens hood might be a good idea.
I say might, because it depends on the angle of the sun or artificial lighting.
When photographing towards a bright light source, using a lens hood helps to block some of the light from hitting the front of your lens, which helps to control the amount of lens flare in photos.
3. Using lens filters to control lens flare
A cheap UV filter is great for increasing the lens flare effect, especially for veiling lens flare. This is because the quality of the glass on a cheap filter isn’t very good. Usually this is unhelpful, but for creating lens flare, cheap is more effective.
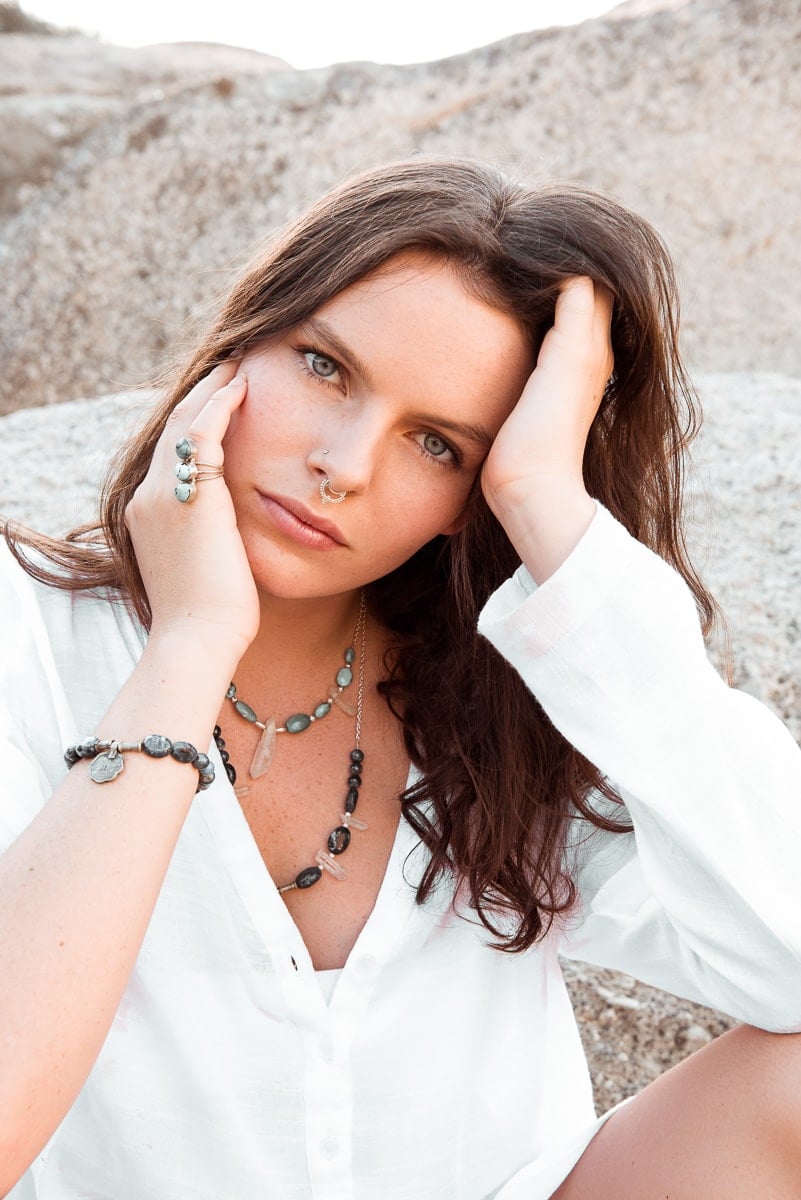
I took this during the golden hour with the sunlight partially blocked by the canopy of leaves behind the model. Camera settings: 1/125, F3.5, ISO 400, 62mm focal length. I also used a reflector to bounce light back into her face.
Best time of day for sun flare
Timing is one of the most critical factors in capturing beautiful sun flare with a warm glow in natural light. The position of the sun changes throughout the day, which affects the intensity and direction of the light.
Aim to photograph sun flare during the golden hour, which is the first hour of light after sunrise and the last hour of light before sunset.
During the golden hour, the sun is low in the sky, creating a soft, golden light that’s perfect for capturing sun flares.
Editing lens flare in Lightroom
Two ways to edit a lens flare effect with post production software, such as Lightroom, are:
- Enhance lens flare
- Reduce lens flare
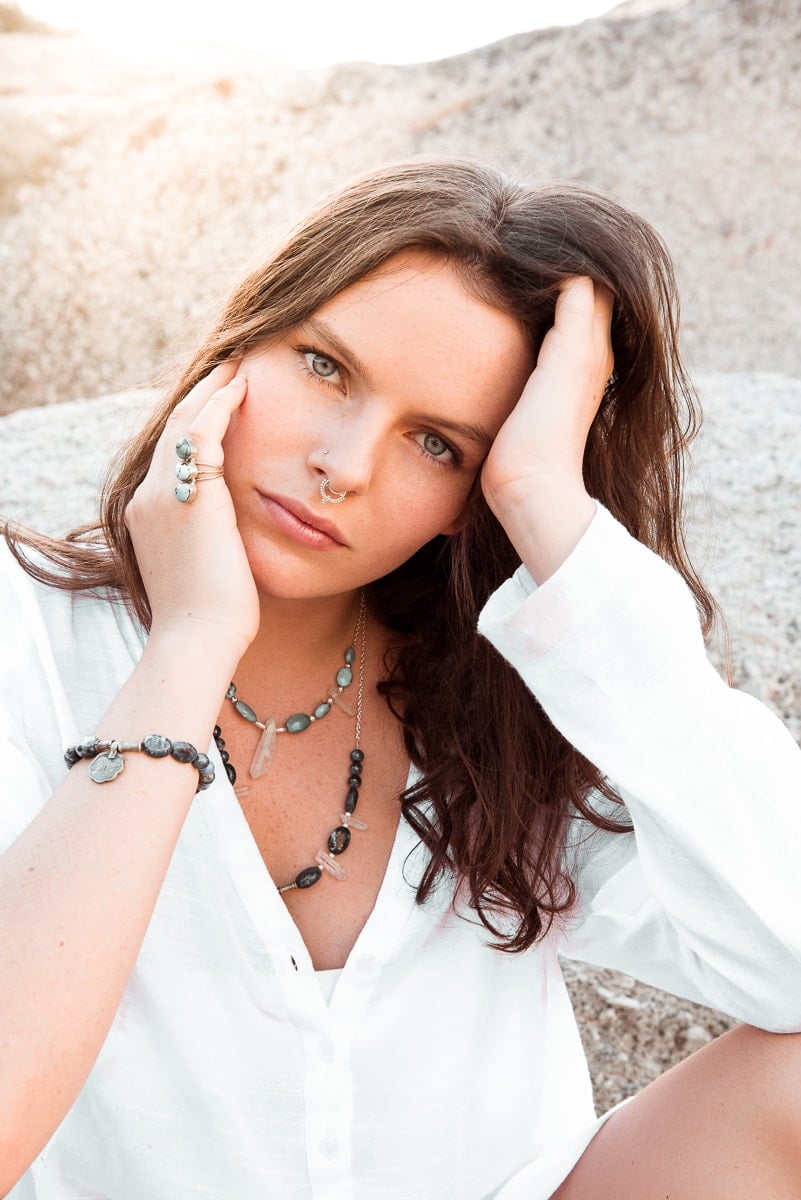
I captured this image at the beach during golden hour, with the sun setting behind the boulders, which I used for open shade. For the edited image below I enhanced the golden hour feeling by adding sun flare in Lightroom. I placed the added sun flare in the same position as the sun for a realistic lens flare.
1. Enhance sun flares
- Increase tonal contrast, vibrance and/or saturation for a punchier image and to make the flare more prominent and vibrant
- Warm up or cool down the overall image with the white balance and tint sliders, RGB tone curve, color grading, HSL sliders and calibration sliders
- Make local color adjustments for warmer or cooler tones with a brush mask
- Bring out the details in the flare with dodge and burn masking tools to selectively lighten or darken certain areas of the image
While enhancing sun flare can make an image more visually appealing, be careful not to overdo it. Over processing the image can result in an unnatural and unrealistic look.
Pay attention to where you place a flare effect in photo editing so that it appears natural.
2. Reduce sun flare effect
If the flare effect is a bit much, you can reduce or remove lens flare in photos. The Lightroom tools I use for lens flare correction, include the following slider adjustments:
- Contrast
- Highlights
- Shadows
- Whites
- Blacks
- Clarity
- Dehaze
- Saturation
And of course, also the tone curve tool.
While learning how to capture lens flare I overdid it a lot, so in the process I also learned how to calm it down.
Further reading: Lightroom Texture vs Clarity vs Dehaze (precise photo enhancing)
Wrapping up lens flare photography
Experiment with different angles, lenses, and techniques for different creative lens flare shots that stand out.
However, do remember to be careful when shooting directly into the sun and protect your eyes.
Leave a comment
If you have any questions about lens flare photography, let us know in the comments.
Also, I love good news, so if my sun flare photography tips have helped you create better sun flares, share that too.