


Low light photography can be challenging if you don’t understand the best camera settings to use in low light. Even if you do use the right low light photography settings, when you don’t have enough available light for a proper exposure, what do you do?
Not worry about it and fix your photo in post? That’s not ideal, especially if you want to avoid noise in photos.
Don’t worry – photographers have a few options to capture well exposed photos before you have to resort to underexposing photos.
First, you need to understand the challenges for your digital camera of photographing in low light. What you (and your fancy eyes) consider low light and what your camera (and it’s much less fancy sensor) thinks is low light is very different.
Low light photography challenges
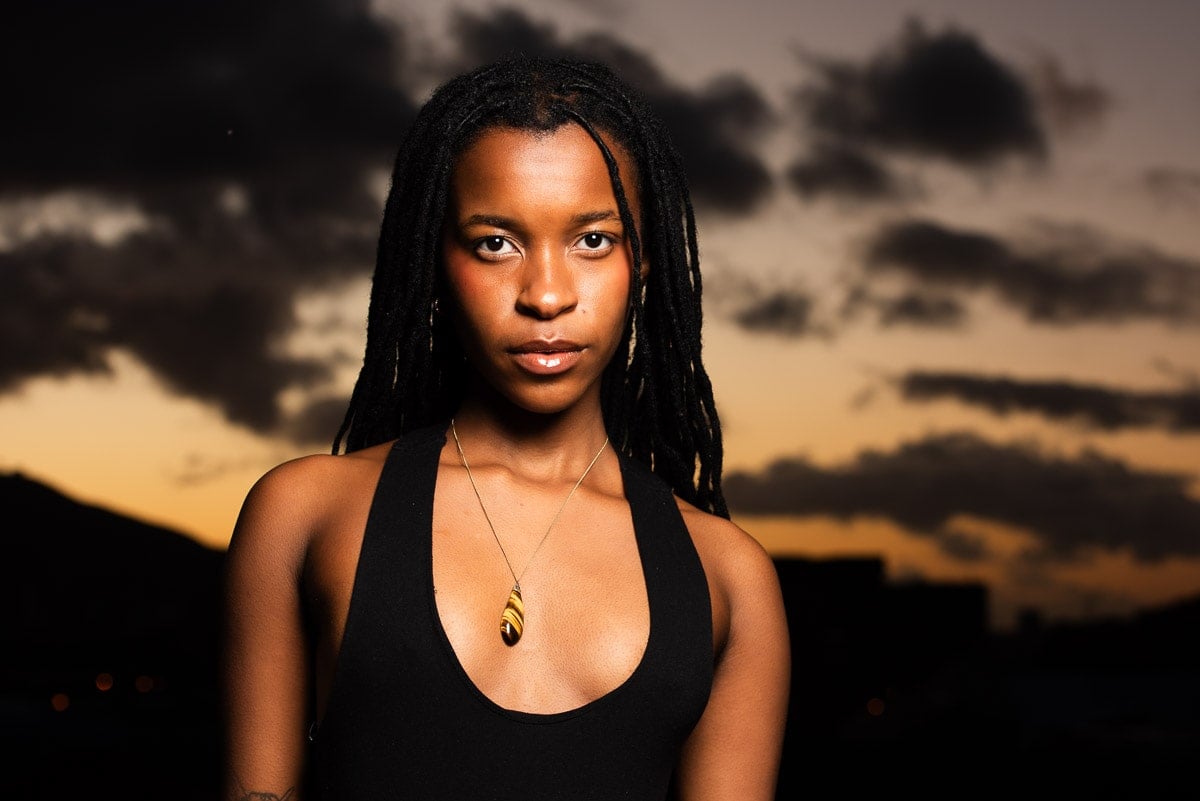
Low light situations range from dimly lit indoor environments, or a thick forest on overcast days, to outdoor scenes during twilight or at night. All these situations share the same low light challenges. They are:
- Exposure settings
- Light sources
- Image quality
1. Exposure settings
Low light photography can be hugely challenging for adjusting exposure settings, because you have to juggle what’s most important and you’re far more restricted than in well lit situations:
- Aperture
- Shutter speed
- ISO
2. Light sources for photography
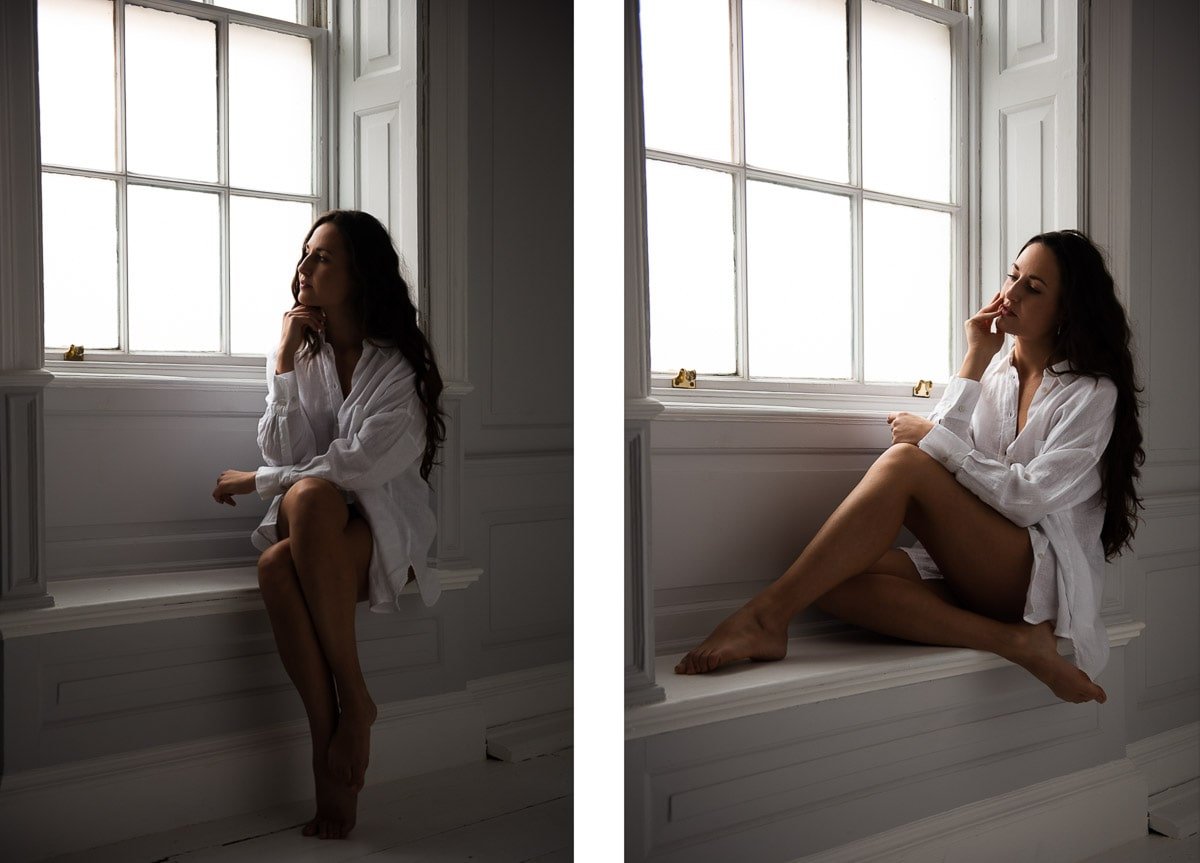
While you might be able to see perfectly well indoors, the dynamic range of your camera is much less capable.
Additional light sources
If the ambient light (aka available light) isn’t bright enough for a well exposed image, you could:
- Light your subject with an additional light source, such as on camera or off camera flash (speedlight or strobe lighting) or continuous light
- In some situations you can use a reflector to bounce light back into the subject
Color temperature of light
Different types of light have different color temperatures.
Your eyes adjust to the color temperature of different types of light. So you don’t even notice it, except for at sunrise and sunset when you can clearly see that the light is much warmer than at midday.
Your camera, however, needs to be told the color temperature of the light, which you do by setting the white balance. However, if the additional light source has a different color temperature from the ambient light, ensure that your white balance is set to the color of the light used to light your subject.
3. Image quality
It’s much more difficult to maintain good image quality in low light photography, because light is the essential ingredient needed for photography. No light, no photo.
So images taken in low light conditions may contain noise, color distortion, or lack sharpness if your exposure settings aren’t adequate for the lighting conditions.
Camera settings for low light photography
To capture great low light photos, you need to understand the exposure triangle – the relationship between aperture, shutter speed, and ISO.
Understanding exposure settings will then help you to decide on the best shooting mode to use:
- Manual mode
- One of the semi-automatic modes
- Program mode
- (Avoid auto mode as it’s not helpful)
Exposure settings
Regardless of whether you shoot manual or fully automated, your exposure settings are key to avoiding low quality photos.
The exact exposure setting you need depends on the low light conditions, so I can’t tell you to set your camera to XYZ and you’ll have a well exposed image. What I can say is:
Aperture
Use a wide aperture, such as f/1.8 or f/2.8, to let in as much light as possible.
However, wider apertures can result in a shallower depth of field, which may not be suitable. For example if you have several subjects, one in front of the other, you’ll need F4 – F8.

Shutter speed
A slower shutter speed allows more light into the camera, which is great if your subject isn’t moving and if your camera is supported on a tripod. Otherwise subject motion blur or camera shake can affect image sharpness.
If your subject is moving you’ll need a shutter speed of at least 1/100. For children I recommend 1/250 at least as you never know when they’re going suddenly move.
ISO
A higher ISO setting, such as 1600 or 3200, increases the camera’s sensitivity to light, but not all cameras can handle high ISOs without losing quality.
So aim to keep your ISO as low as possible. I try not to go over 1600.
Manual mode
Most of the time manual mode is best, because you know more about what you want to capture and how you want your photo to look than your camera. In low light, using manual mode gives you complete control over your camera settings.

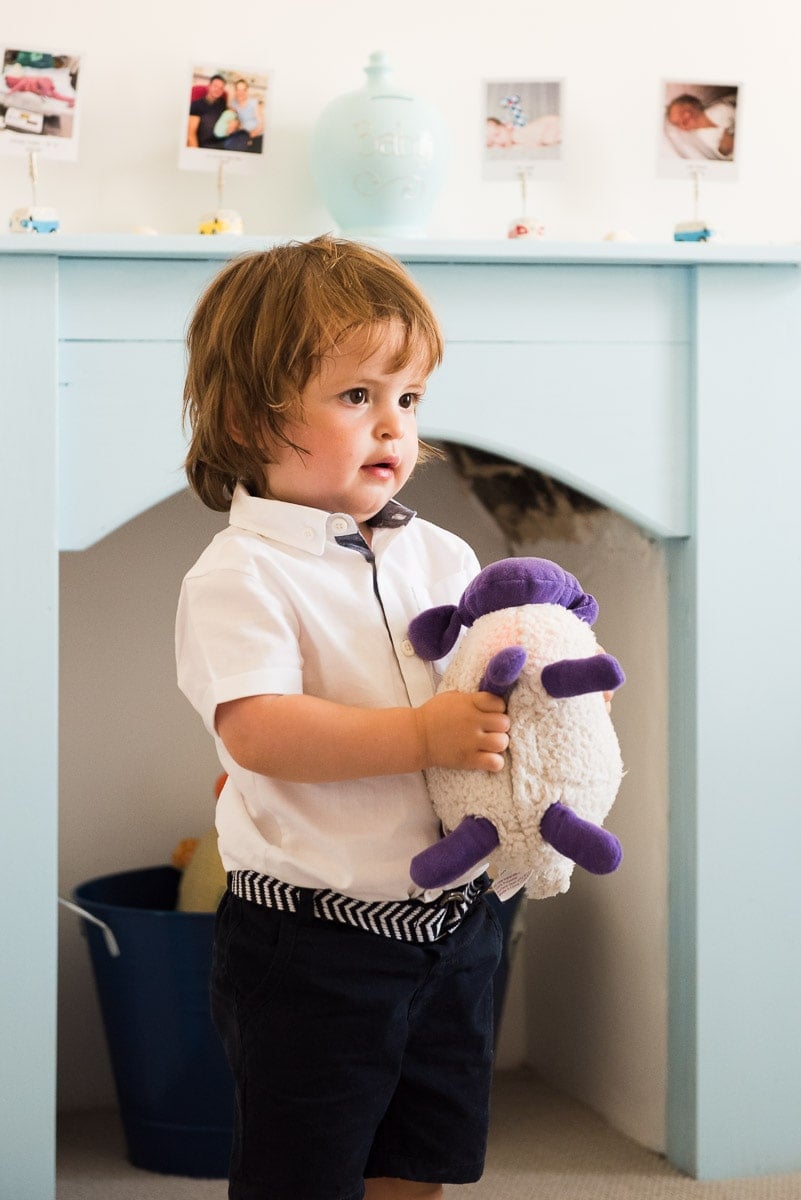
The challenge for this shot was encouraging a young child to jump on his parents’ bed so that I could capture him in front of the family portrait taken when he was a newborn.
- The exposure time had to be short enough to freeze his movement,
- Aperture had to be exactly right so that the wall art would be blurred, but not too blurred and the only light was from a not huge window behind me.
- Oh, and of course keep him in focus with my DSLR – use back button focus!
Aperture priority mode
Aperture priority mode is a semi-automatic mode that allows you to set the aperture while the camera automatically adjusts the shutter speed for an accurate exposure.
The two disadvantages of aperture priority mode are:
- You have to keep an eye on your shutter speed as this will be set by your camera
- Aperture is lens dependent. In other words, if your lens’ widest aperture setting is F4, your shutter speed will be much slower than with a F1.4 lens aperture
Shutter priority mode
Shutter priority is also semi-automatic as you set the shutter speed and the camera adjusts aperture accordingly.
The disadvantage of shutter priority mode is that it’s governed by the maximum aperture of your lens. So if you don’t have a fast lens, you might not be able to set a shutter speed suitable for the subject and scene.
The longer your shutter is open, the longer the sensor will be exposed to light for a brighter exposure. However, it’s a balance – using a slower shutter speed can result in motion blur if your subject or camera moves.
To reduce motion blur and camera shake the rule of thumb is to use a shutter speed at least as fast as the focal length of your lens. For example, if you’re using a 50mm lens, use a shutter speed of 1/50th of a second or faster.
I prefer to aim for twice the number as my hands aren’t particularly steady when hefting about a big camera and lens, especially after several hours of shooting.
Auto ISO settings
Increasing your camera’s ISO setting is helpful in low light. Yes, you run the risk of capturing noise (grain) at high ISOs.
However, an underexposed image that’s brightened with editing software will be noisier than a correctly exposed image with a high ISO. Within reason of course.
So, if you can’t open your aperture any wider or slow your shutter speed any more, consider upping your ISO.
Turning on auto ISO automates aperture priority and shutter priority further, but you need to know at which point your camera will lose quality. It varies from camera to camera, with newer, higher end cameras being far superior in low light situations.
Low light photography tricks
Image quality is a challenge in low light photography, but there’s a lot you can do to ensure the best quality possible for the lighting conditions.
Low light sharp focus tips
I’ve written a full tutorial on tricks for focusing in low light conditions, so won’t go into detail here, except to say:
- Switch to manual focus if your autofocus starts “hunting” in low light
- Use back-button focus to separate focusing from shutter release
- Use focus peaking to highlight areas in focus
- Switch to live view to focus
Stabilize your camera
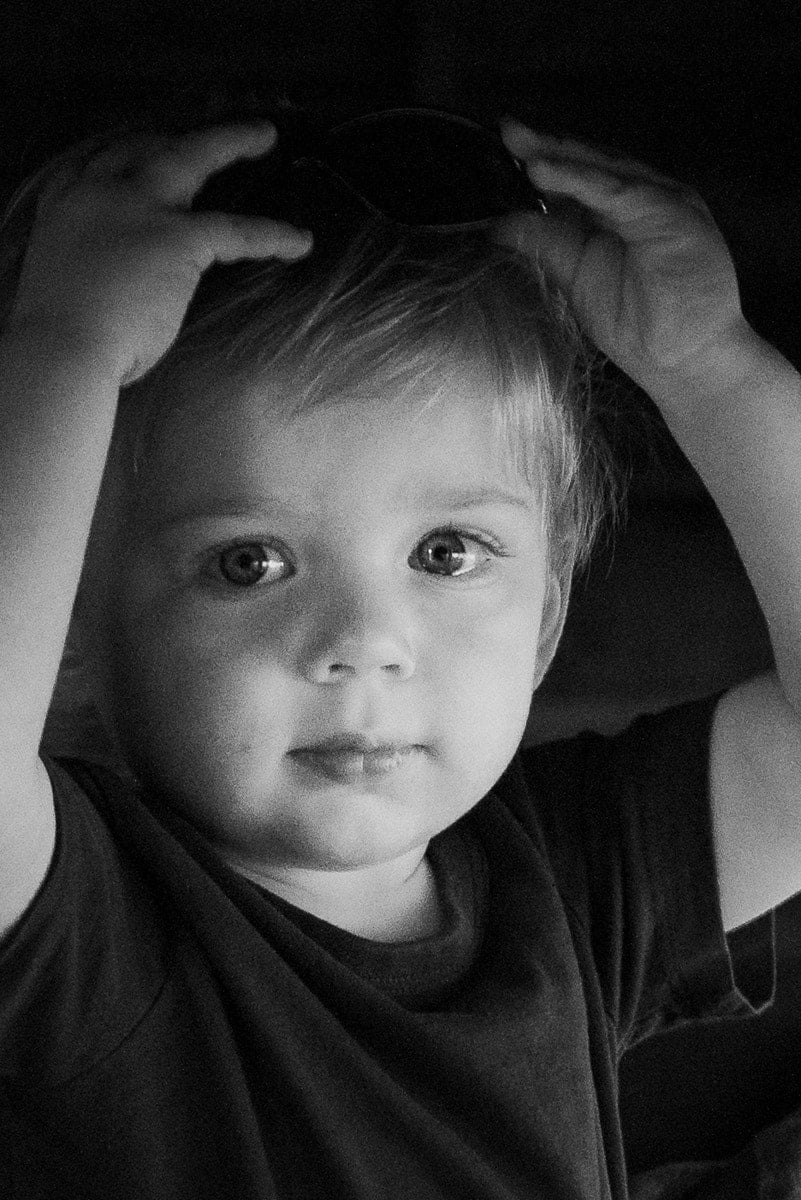
When taking portrait photos in low light, camera shake and motion blur are your main challenges.
In low light, however, a fast shutter speed might not be possible. So…
- When handholding your camera, you need to hold your camera properly, with both hands and your elbows tucked into your sides for added stability. If possible lean against something for the extra support.
- Mounting your camera on a sturdy surface or tripod and using a remote control or the self timer on your camera will avoid camera shake. This allows you to trigger the camera without physically touching it, which can cause unwanted movement.
- Image stabilization (aka vibration reduction) will help you to capture a sharp image at lower shutter speeds, but that’s only if you and/or your subject isn’t moving. IS and VR can be either a camera setting or a button on the lens. However, entry level cameras and lenses often don’t have this function.

Further up I included a close up of this image to show you the noise.
Here’s before and after editing. As you can see, the image on the left was very underexposed. The small aperture was totally wrong for this shot.
Avoid noise in low light conditions
You can read how to avoid noise in photos in the full article, but here are a few pointers for now:
- Ensure your image is well exposed by setting a larger aperture and slower shutter speed for more light
- Use a lower ISO to reduce noise levels
Shoot in RAW
Shooting in RAW file format gives you more control when editing your low light photos.
- RAW files capture far more data than JPEGs, so you can recover more details in the shadows and highlights in post production
- RAW files allow you to adjust the white balance and exposure with photo editing software
- A RAW file format gives you more flexibility when it comes to noise reduction
Here’s a helpful article on how to reduce noise in Lightroom.
Camera equipment for low light
If you intend to photograph in low light regularly, and particularly if shooting professionally, then investing in higher end equipment is wise. This is the only time that I suggest investing in gear, rather than learning to work within your camera’s limitations.
For example, a wedding photographer needs a high end camera with top quality lenses to ensure sharp photos even in dark churches. Nobody wants a blurry bride and groom walking down the aisle.
Cameras
More expensive digital cameras can handle low light photography much better than cheaper cameras, because of their advanced technology.
A full frame camera offers better low light performance than a crop frame camera. This is true for both mirrorless cameras and DSLR cameras.
Lenses
Lenses are more important than your choice of camera body and top quality ones will last a lot longer.
I’ve been through 3 (high end) camera bodies in the time I’ve had my favorite lenses, which is saying a lot, because my “newest” camera is 9 years old!
- A faster lens (one with a lower f-number) allows more light to enter the camera, which is essential for low light photography
- A prime lens (one with a fixed focal length) is lighter than a zoom lens and often has a wider maximum aperture
However, the type of photography you do and your photography style also determines which type of lens is better. I photograph at the beach a lot, and my area is quite windy, so I prefer zoom lenses. I also prefer the versatility of zoom lenses for wedding photography, but many photographers prefer prime lenses for weddings.
Leave a comment
If you have any questions about low light photography settings, let us know in the comments.
Also, I love good news, so if my tips for photographing in low light have helped you, share that too.
I loved this article.it was really helpful for low light.
That’s great to hear, thank you Savio.
Hello Jane, thank you for empowering knowledge